
As long as I’ve known about composting, I always thought of it as a rather long term process. You pile up food scraps, garden waste, wood chips, etc, then let it all sit there for a few months covered with a tarp, turning every now and then, and you’ve got compost. I’m sure that’s a fine method for more patient people, or those who already have good soil from the get go, but I’m starting out on a typical suburban lot in SWFL on fairly lousy sand. There’s compost made by the county here available for $10/yd, but I wasn’t really WOW-ed when I used it as part of my square foot gardens. I’ve already got my in-ground vermicomposting system going, but it is more for making decent amounts of high quality fertilizer, not bulk organic matter producer like a large compost pile is. I figured I was going to be stuck using the county compost, until I heard about Geoff Lawton’s 18 day compost!
Check out the link for details on the process, but basically you build a compost pile with 1 part manure to 2 parts carbon rich materials (wood chips, branches, straw, newspaper, cardboard, etc), making sure you’ve got enough to make a pile no smaller than one cubic meter. With a gravity pile, that will mean a pile about chest height (4-5ft high or 1.5m) You mix up all the ingredients, wet it down ’till it is just moist, cover with a tarp, and wait 4 days. At that point, it should be heated up pretty good, somewhere between 140F and 160F, at which point you turn it upside down and inside out, and proceed to turn it every other day for the next 14 days. After that, you should have good finished compost, with the added benefit of no loss of volume as you tend to get with colder, long-term composting methods. It seemed like a perfect method for me, so I went ahead and did it.
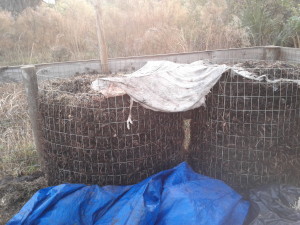
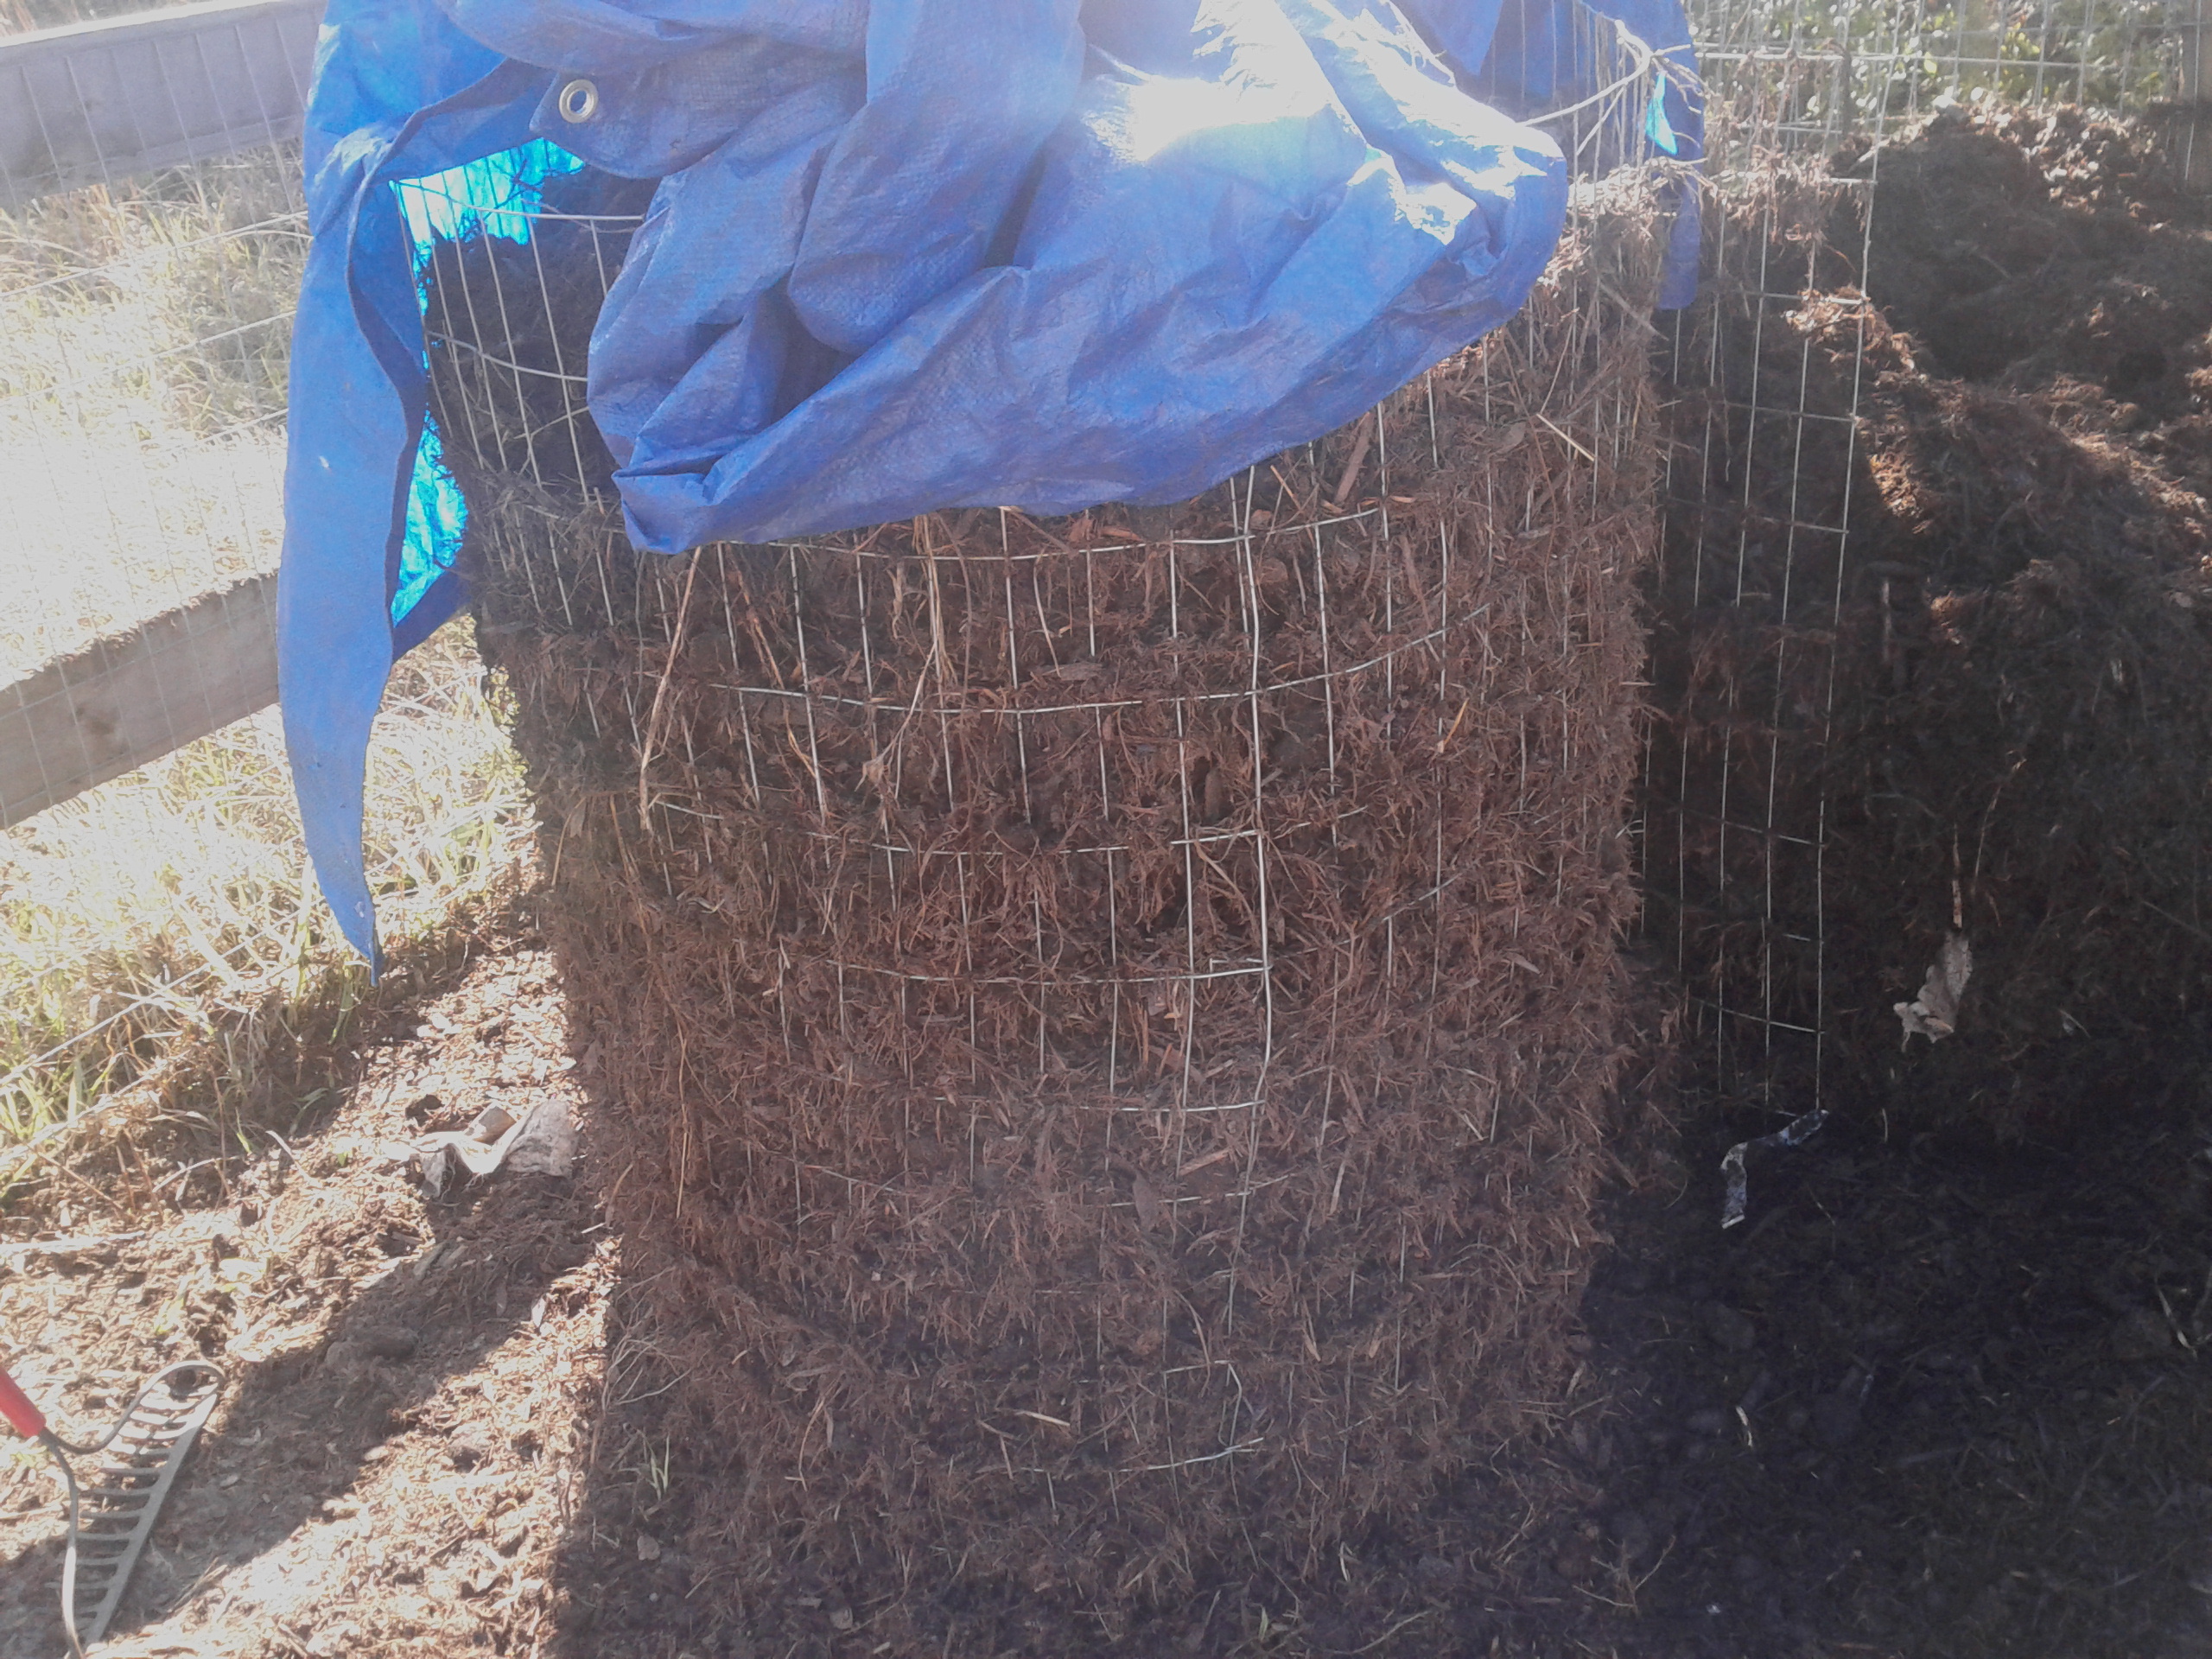
Quick compost in progress
For bulk carbon-rich material, I used free mulch available from the county. It isn’t pretty, but it is composed of a very diverse range of plant material from all over the area. I’m not too concerned about pesticide and herbicide residues, because I’ve grown bush beans and other legumes in compost made from the same stuff before, and those tend to be pretty sensitive to herbicide residues. Also, compost tends to lock up some of the nasties, and the hot temps of this process break them down pretty well too. Sure it’s possible I’m introducing some small amount of undesirable residues, but I figure we need to do something positive with all this plant matter, and taking the “not in my backyard” approach that many do is a bit short-sighted.
For the nitrogen-heavy stuff, I found a lady on Craigslist who had recently rescued two horses, and wanted someone to haul off some manure for her. You can also use grass clippings, hay, any kind of animal manure, roadkill, etc. This time around I wanted to do it by the book, so to speak, so I stuck with just horse manure and mulch.
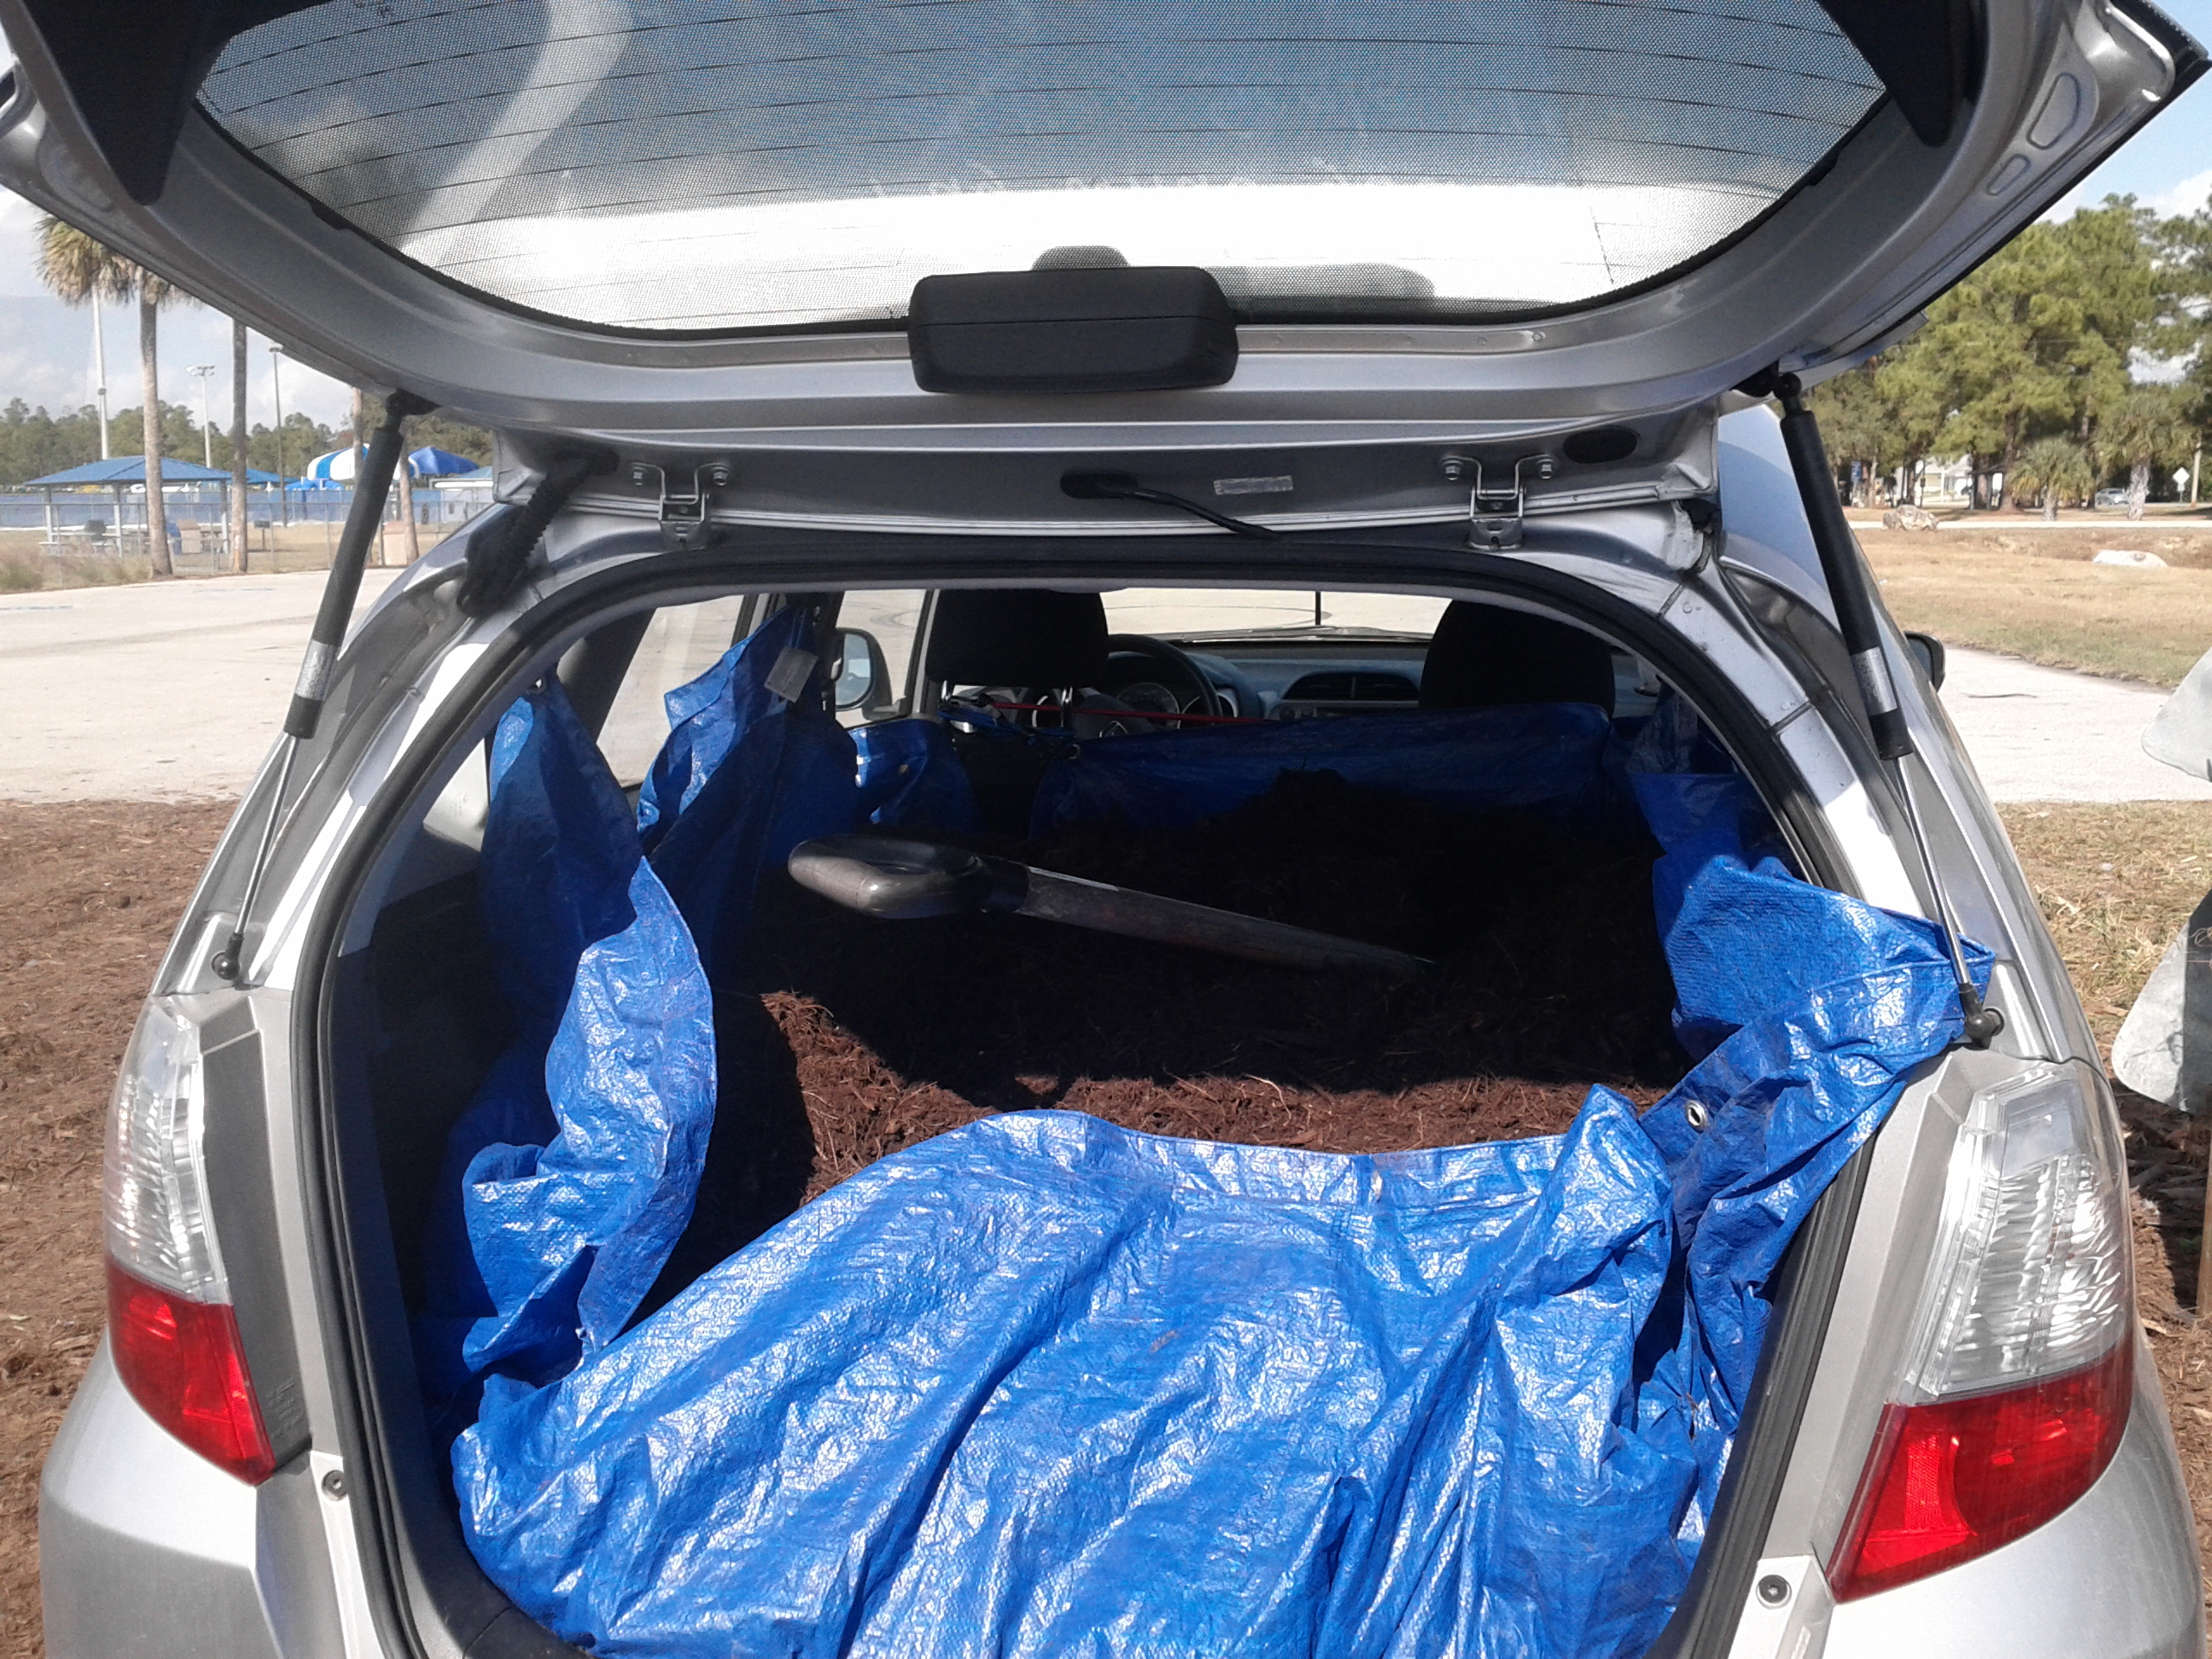
The Fit, lots of room if you try
The above picture is of a time I put a tarp in there with bungee cords and hauled a whole bunch of mulch. I’ve since found that using large heavy duty trash bags (like the super-thick contractor cleanup ones) and a trash can make the whole process quicker and cleaner. You put the bag in the trash can, fill it up, tie off the bag, and repeat. With that method I can pile manure up to the ceiling without making a mess of things in this little car. Also, for moving mulch, manure, compost, etc if you’re not using a manure fork, you’re doing it wrong. A short-handled garden fork is OK for smaller stuff, but if you’re going to be doing compost at this size, do yourself a favor and get a proper manure fork.
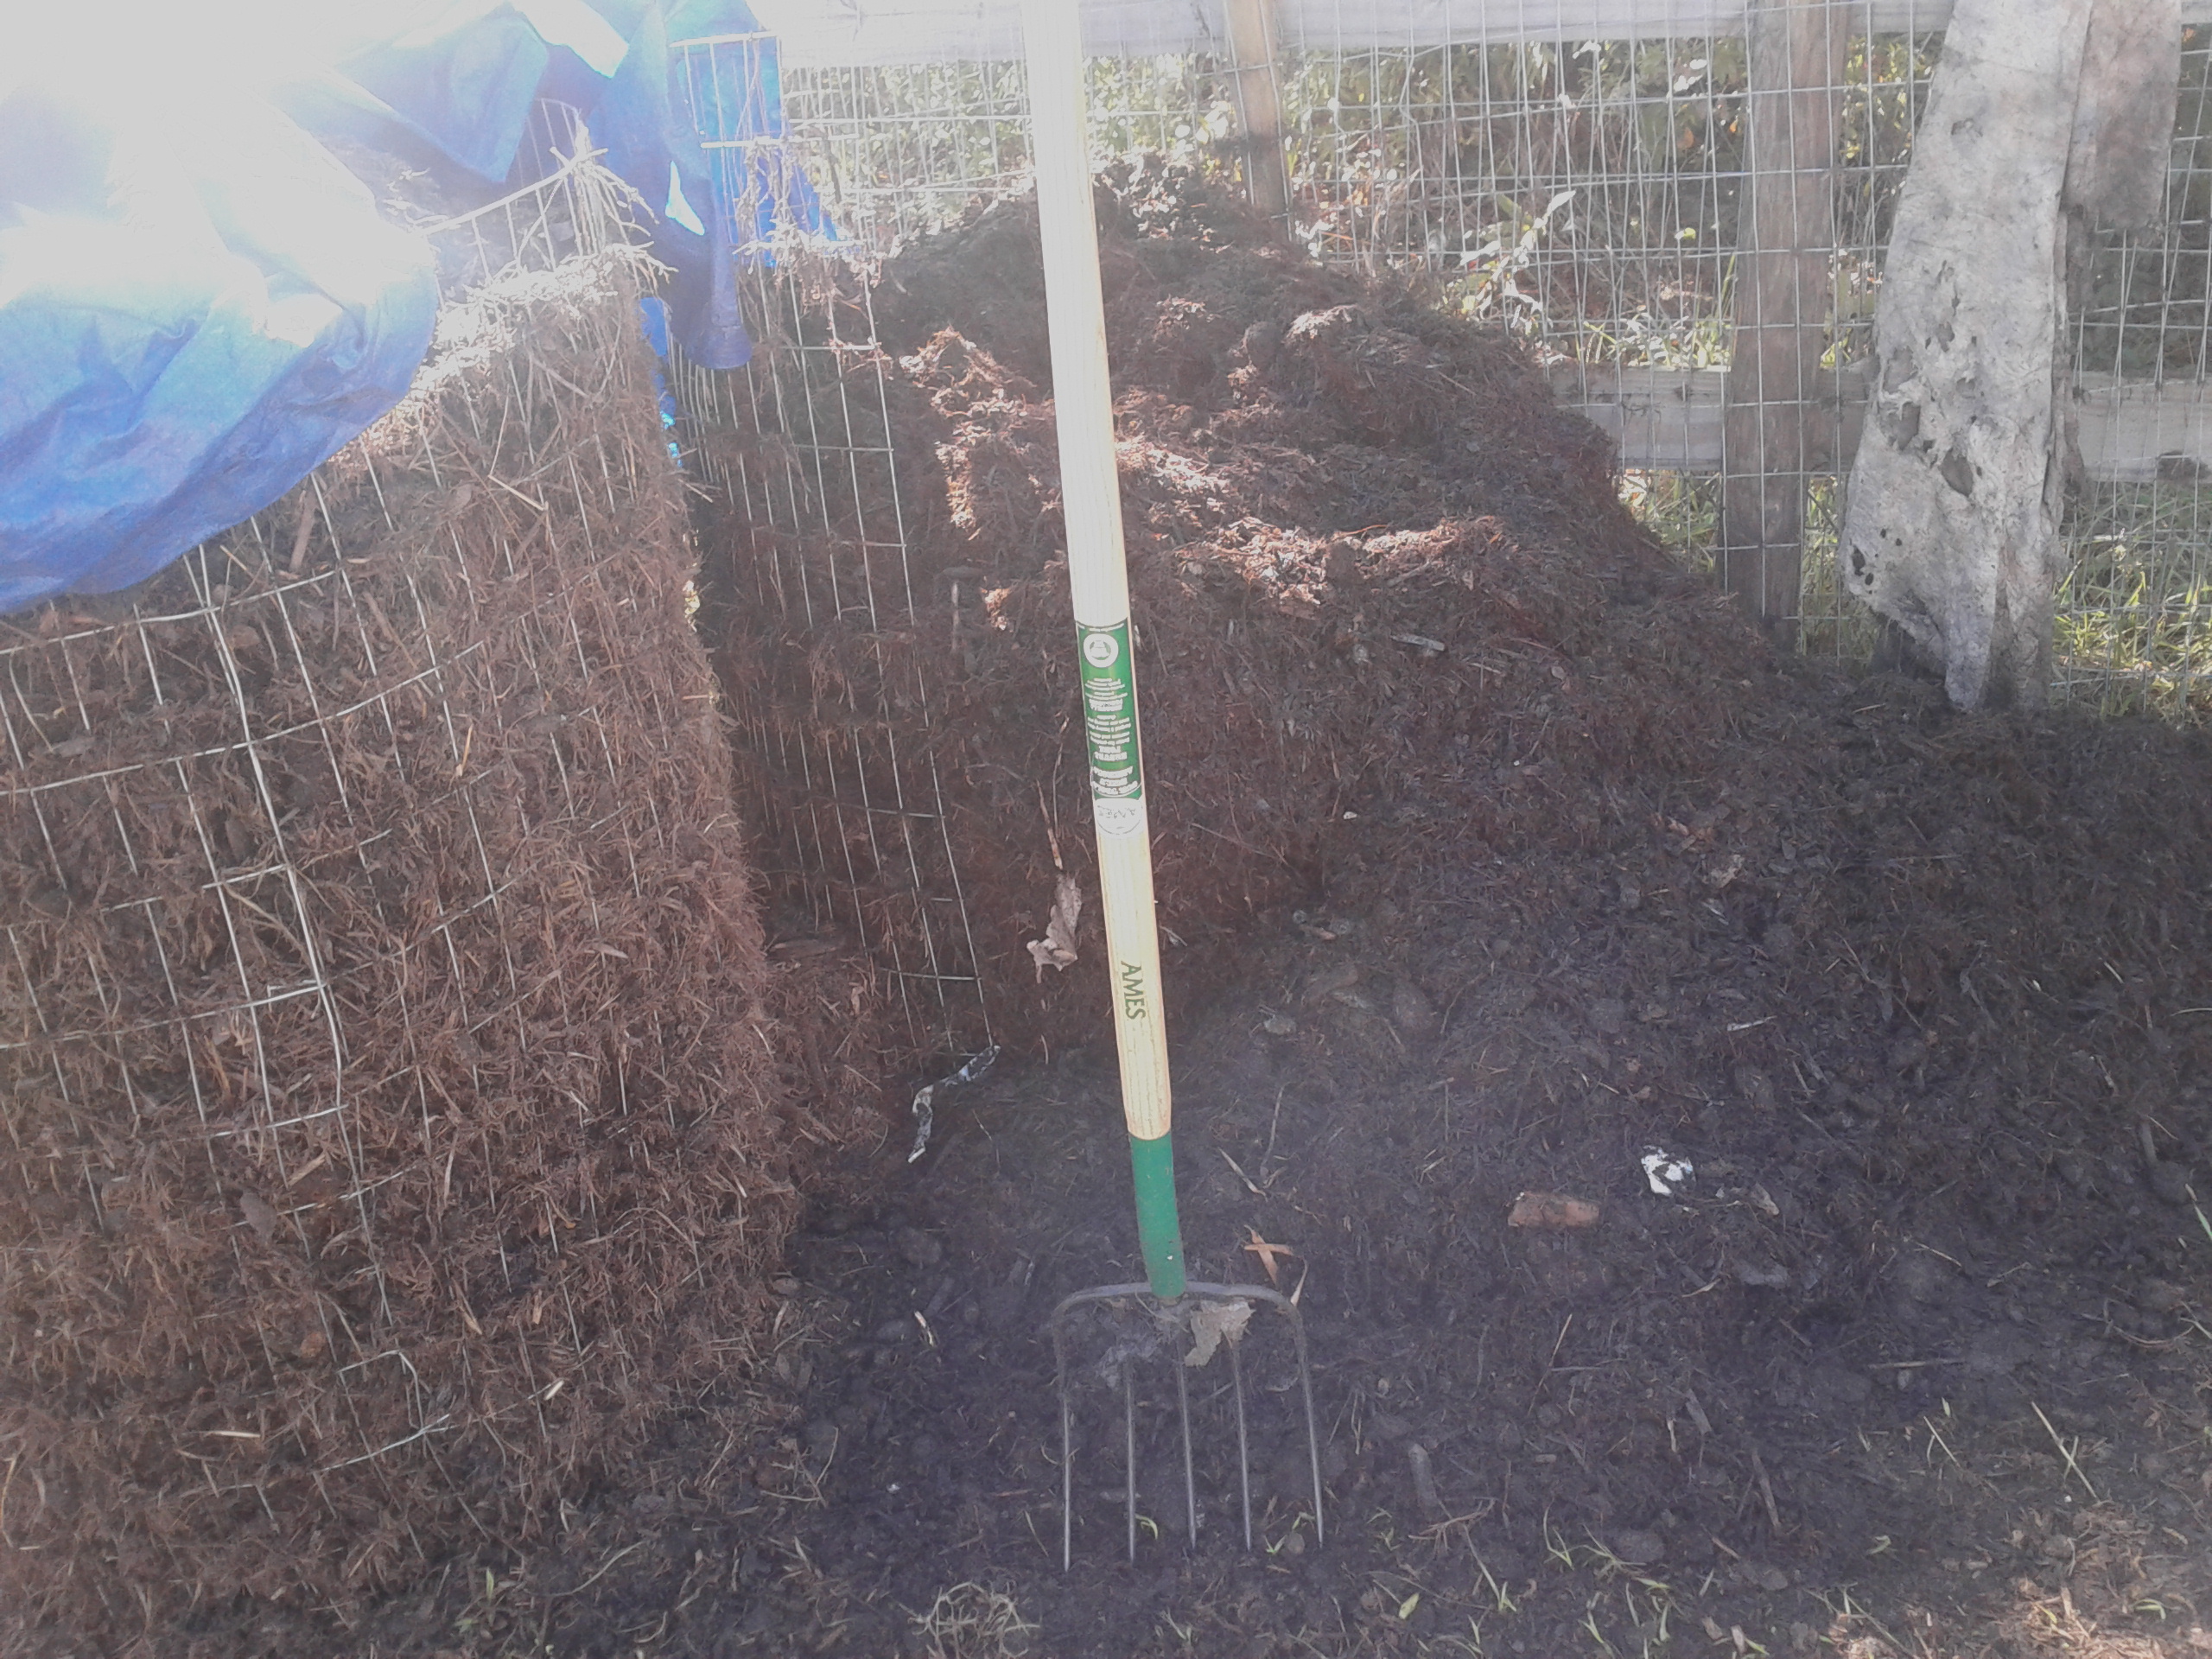
Fork, or failure.
As you can probably tell by the above picture, I didn’t opt for a simple gravity pile. I had some old 4′ wire fencing material left over from putting our fence up, and decided to use it for two reasons:

Reason 1 and Reason 2
Apparently dogs love horse crap. I don’t love dogs eating horse crap and barfing it up. Also, having the composting done in the wire column allows for increased oxygen availability throughout the pile, which is a very good thing. The bacteria doing the hot and heavy work are aerobic organisms, and without enough oxygen, they aren’t doing their job. If it gets completely anaerobic in the middle of the pile, other organisms take over, and they make less desirable end products that tend to stink. With as often as we’re turning it here a gravity pile will do just fine oxygen-wise unless it gets really wet or really compacted, I just figured the better oxygen penetration was icing on the cake after preventing half-digested horse crap from ending up on my carpet.
So, how did it turn out? See for yourself:
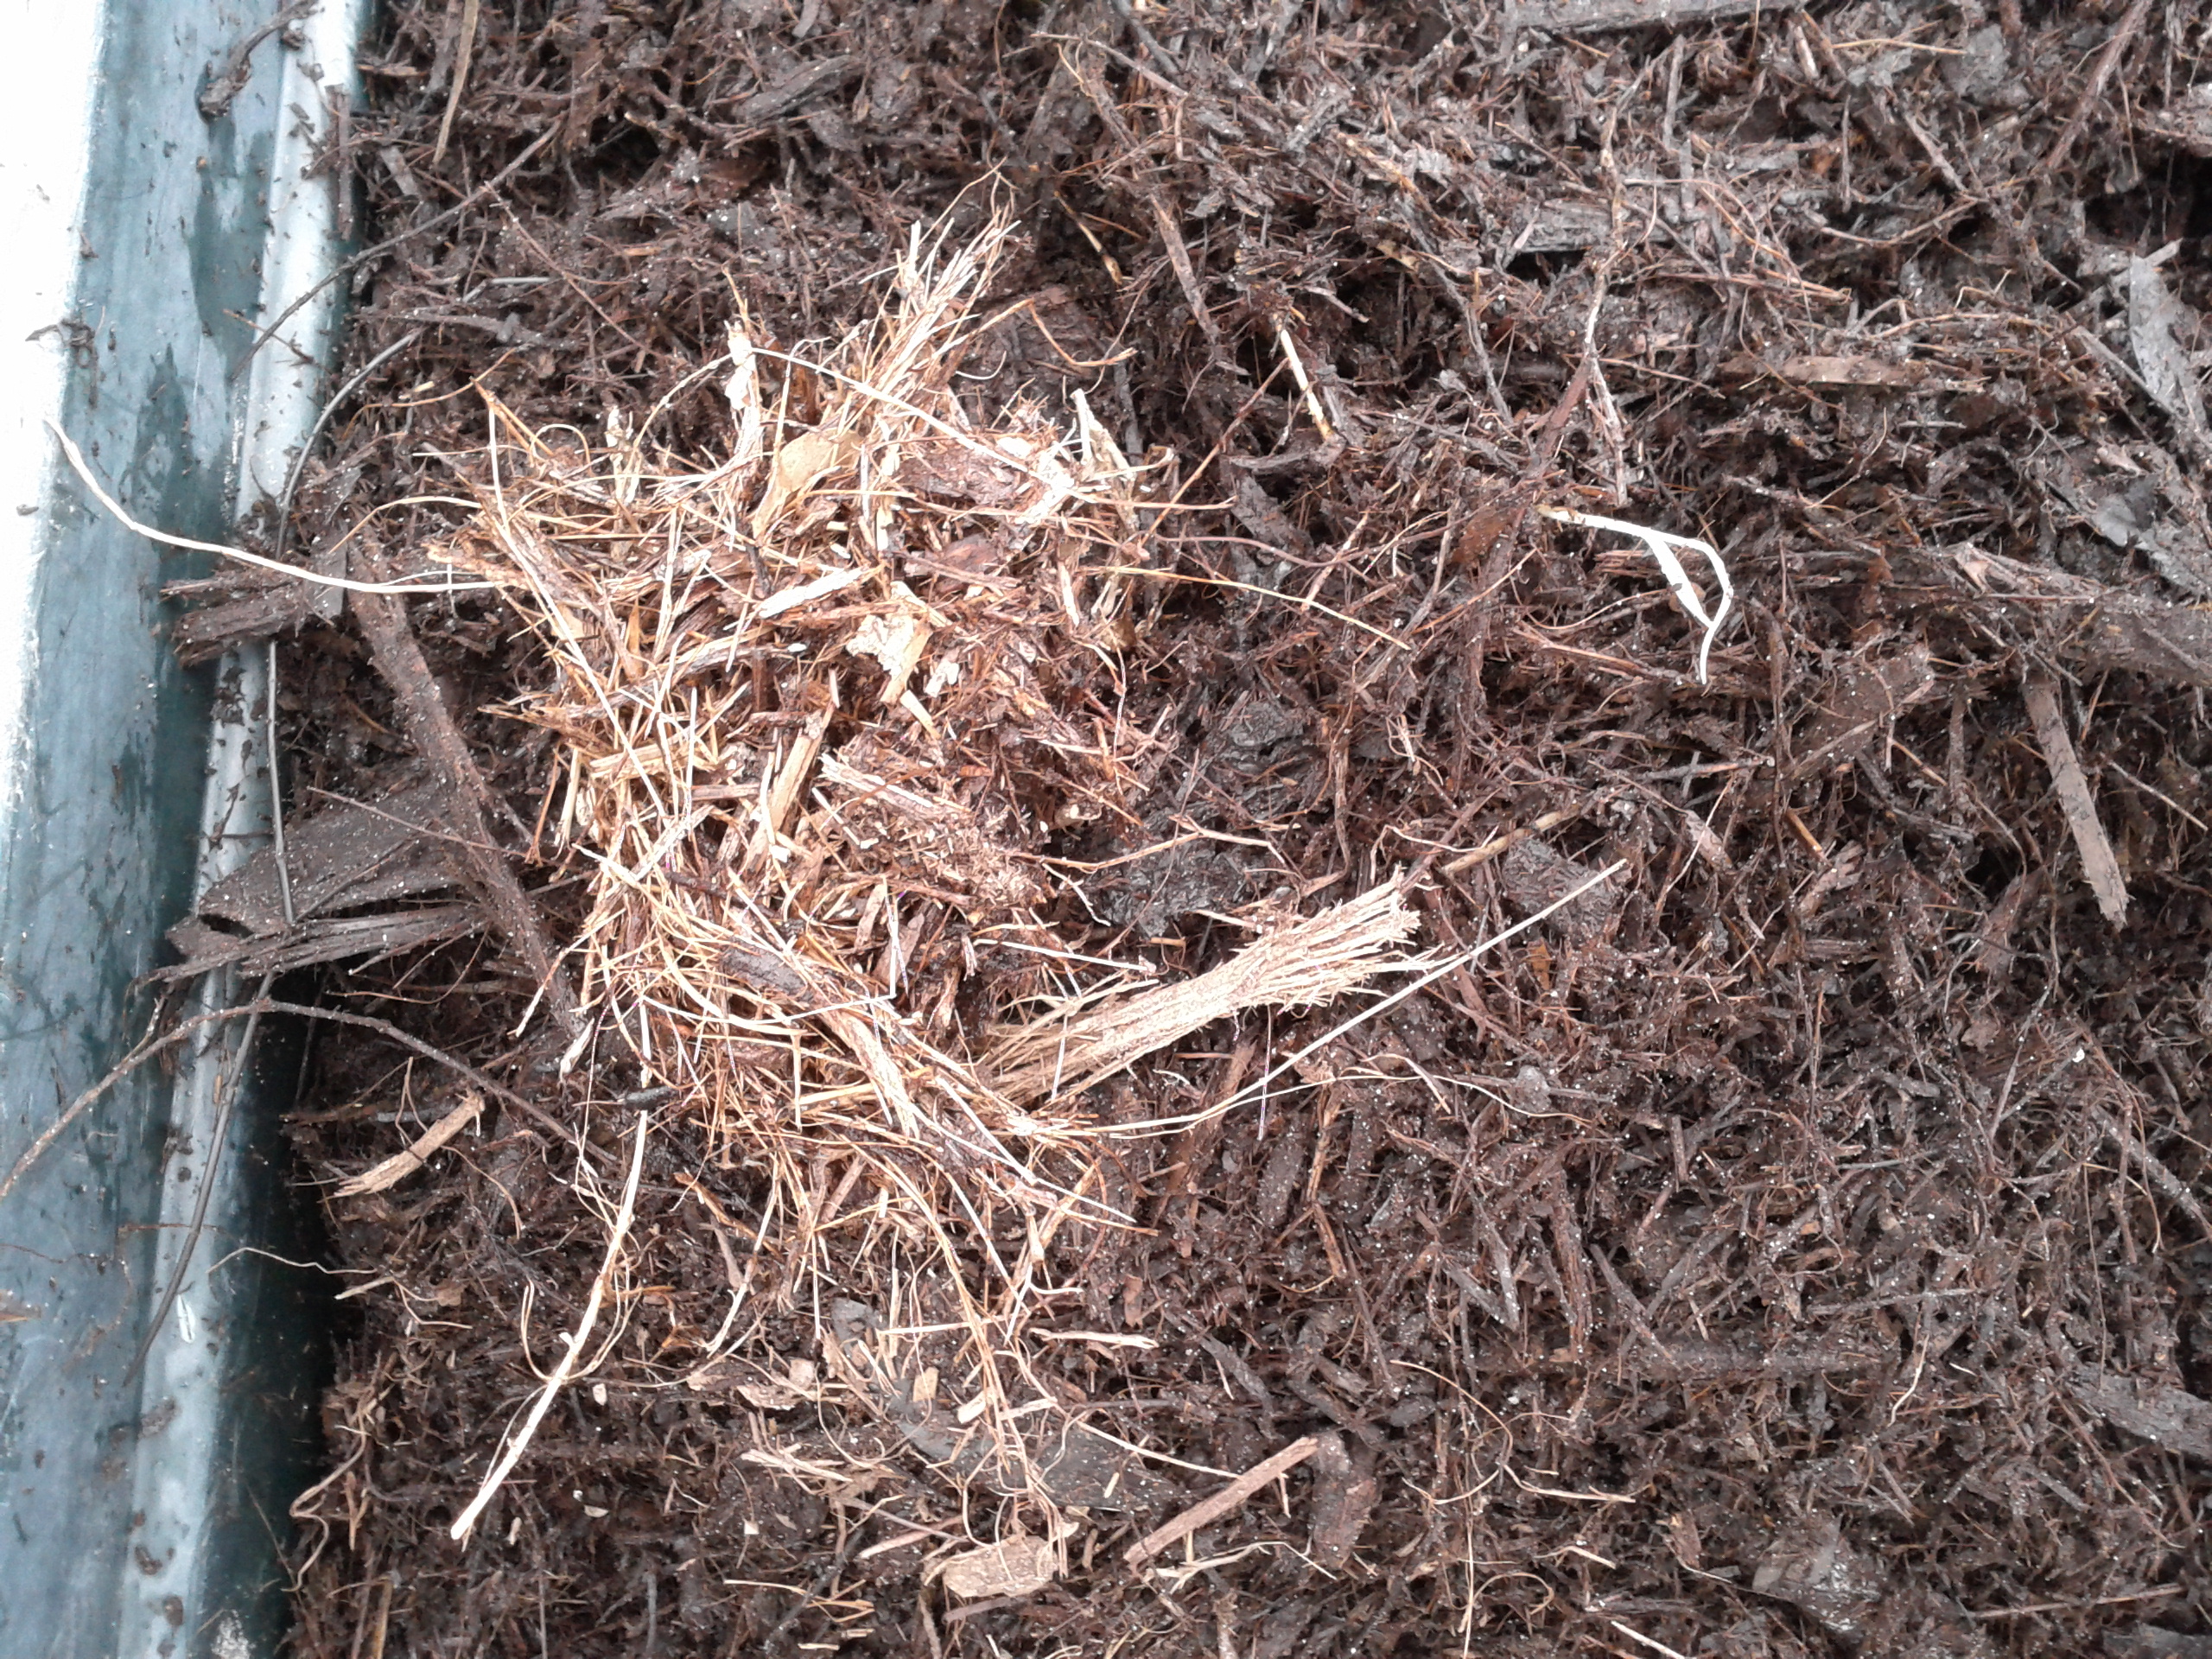
Original mulch vs finished compost
Basically, it turned into a much darker, more earthy smelling version of the mulch I started with. In the pic above, the light colored stuff is the original mulch, and the background dark stuff is the compost, both well soaked with a hose first for more accurate comparison. You can see that the compost still has the same basic structure of the original mulch, which is probably due to the high content of pine needles, palm parts, and wood chips, all of which tend to be pretty slow to break down. In the future I’ll probably add some “softer” carbon sources like straw, newspaper, cardboard, etc to get a more fine textured compost for potting use. This stuff, however, will make a great first layer of mulch for the vegetable garden or for the fruit trees I’ll be putting in soon.
Recent Comments