
When it comes to composting a constant stream of home kitchen scraps, compost worms are hard to beat. They quickly break down food scraps into beautiful black worm castings that are just awesome for the garden. Many people use different above-ground methods of bins, drawers, shelves, etc to do vermicomposting, but I’ve found that for my situation, putting the little guys in the ground saves me a lot of headache.
Happy Worms, Happy Garden
Like many people, when we thought it would be a cool idea to start composting with worms, we built a double-decker bin out of two 18 gallon rubbermaid containers, basically stacked on top of one-another with holes drilled in the bottom for air and to allow worms to move between the two bins. We filled each with shredded moist newspaper bedding, added our 1lb of worms we got in the mail, and started feeding ’em. It didn’t take long for us to realize that we create entirely too much compostable kitchen waste for one little bin of worms to handle. With all the extra food just sitting their waiting for the worms to eat we got fruit flies, we got mites, and we got stink, so we moved the bin outside in a shaded part of the porch, and cut back on the amount we were giving them. The flies and mites died down a bit, but then we started having temperature problems: in the summer the worms were too hot, and during cold fronts they were too cold, and just about every day we would have a bunch of dried out escapees on the cement all around the bin.
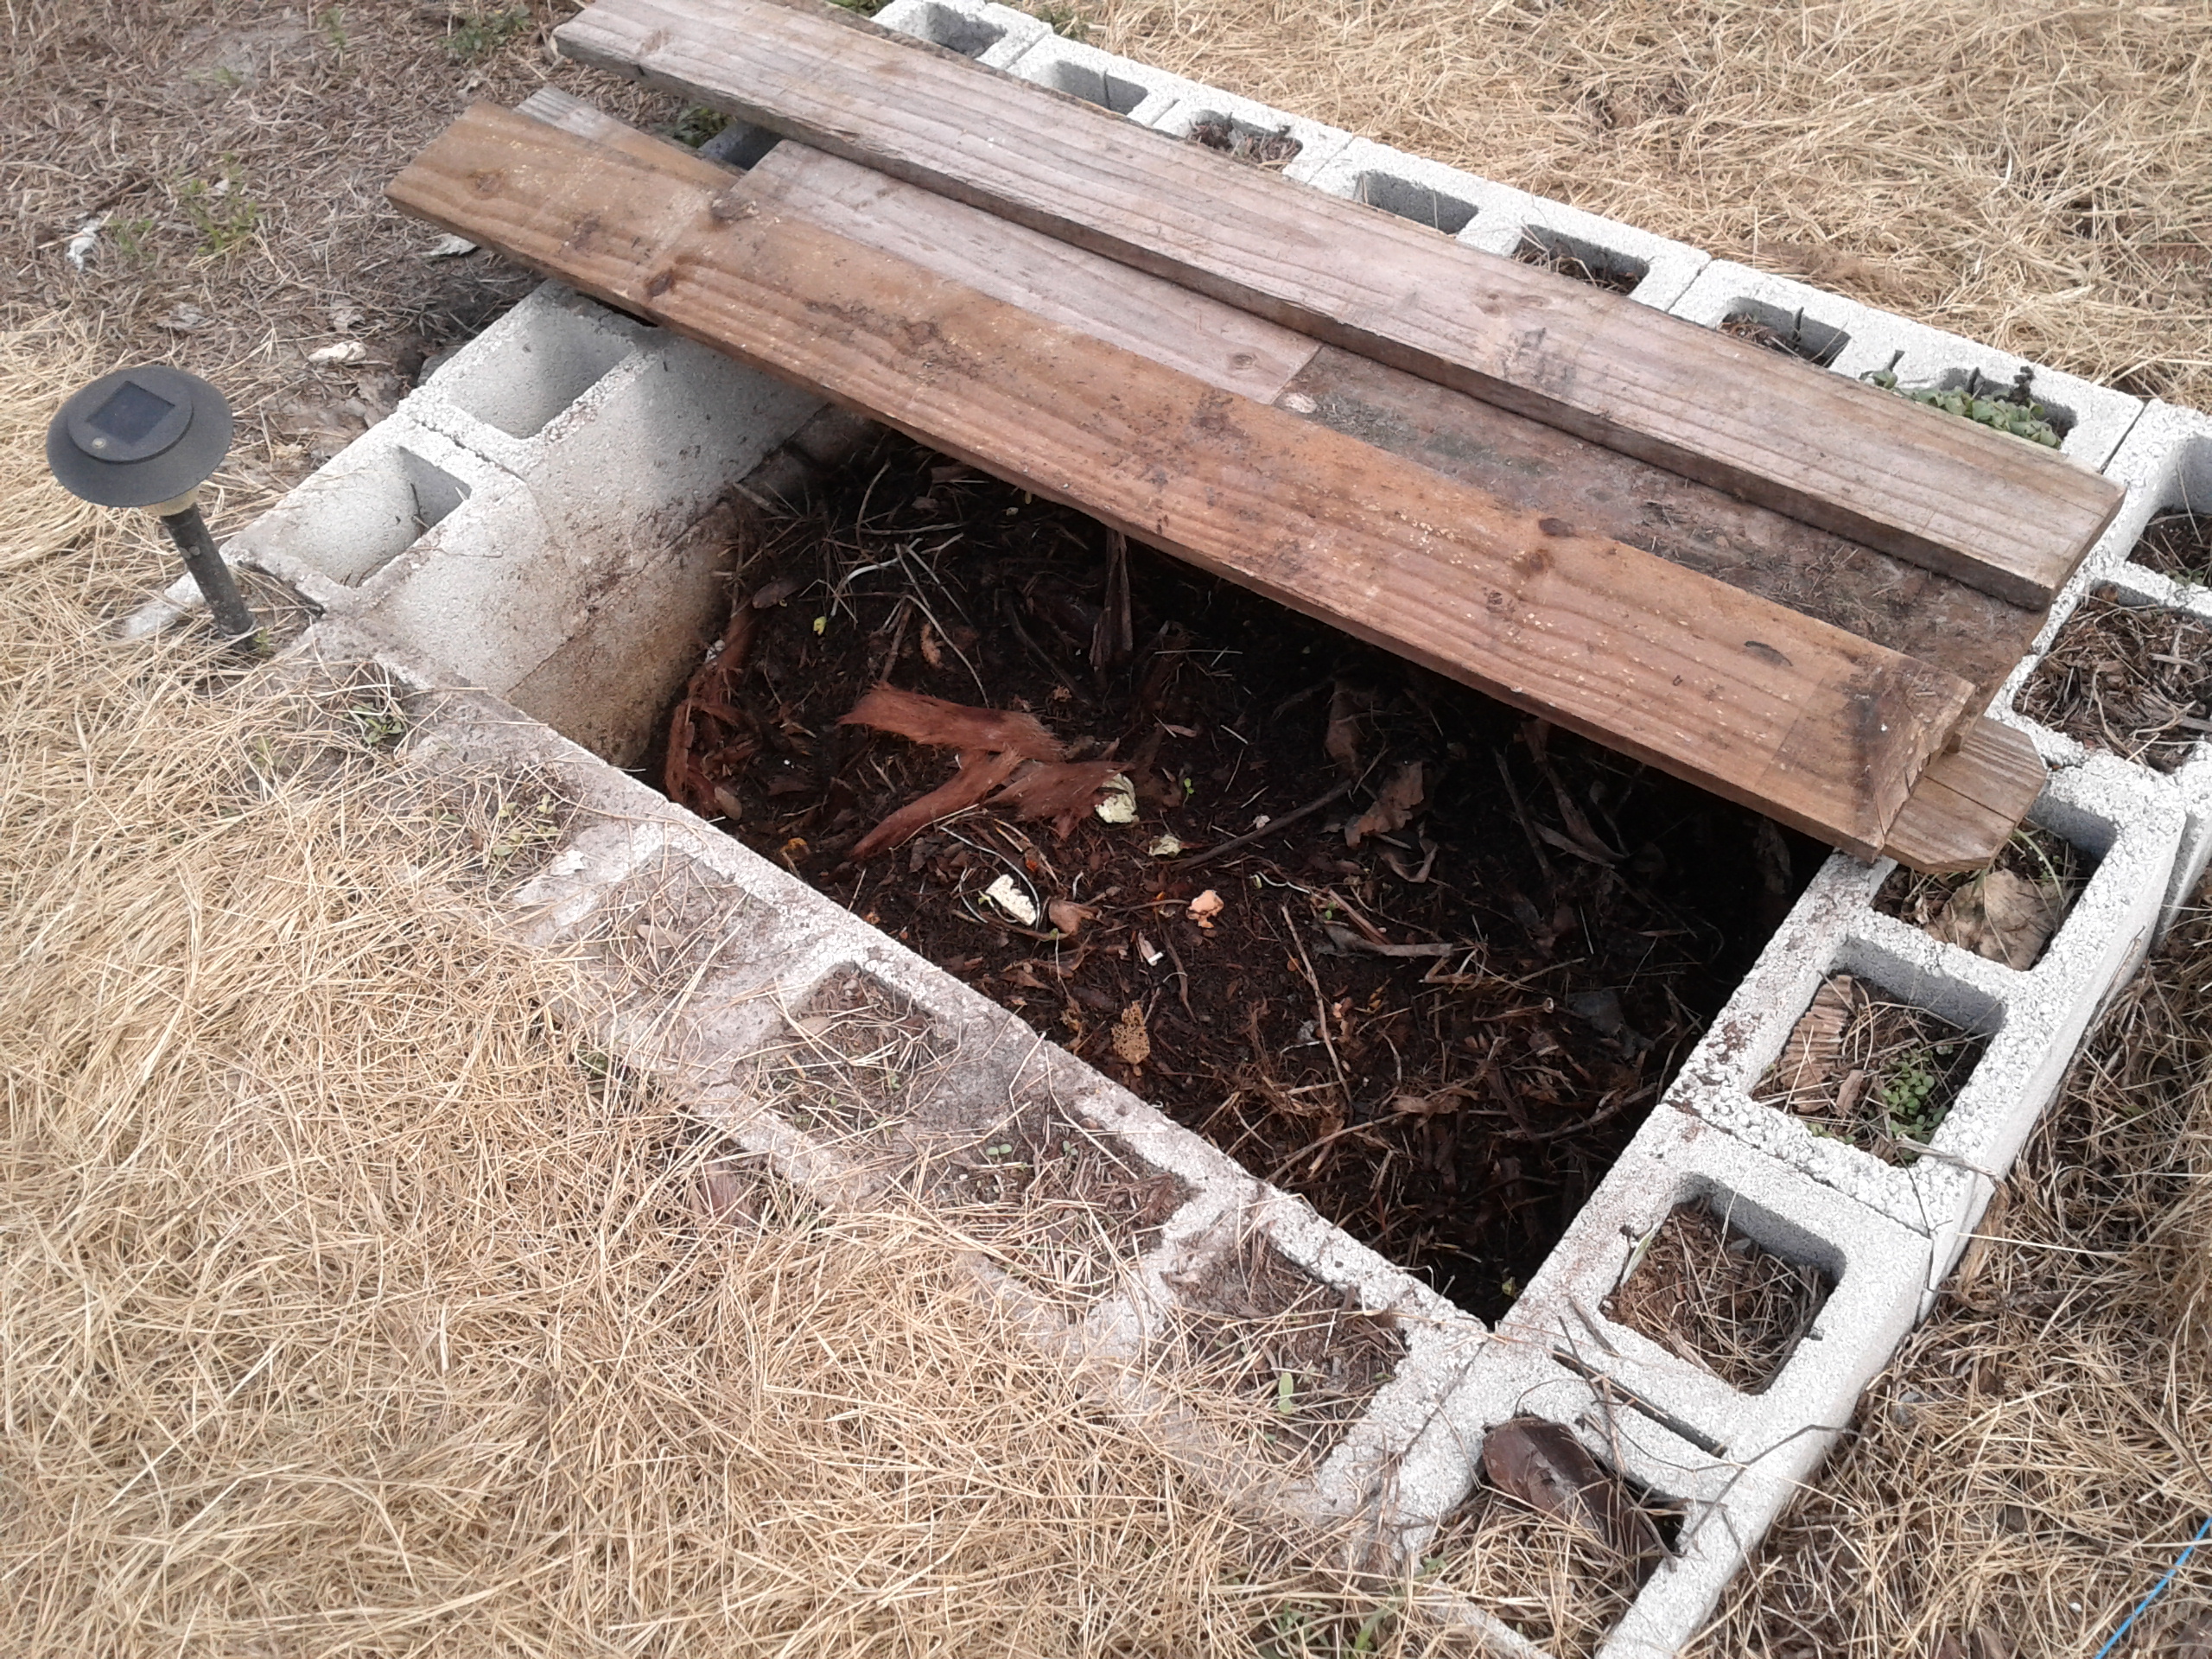
Worms inside just wasn’t going to work, because we didn’t have the space or the desire to have enough worm bins to keep up with all the veggies we eat. Outside in bins clearly wasn’t working either, so I did what any thinking person would: I dug a hole. I dug a hole, lined it with cinderblocks, and now I have happy worms. Being in contact with the ground provides the worms with much more stable temperatures year round than they would if they were in bins.

Hole + cinderblocks + worms = great compost!
Site Selection:
At some spots in my yard, the water table isn’t too far below ground, so putting a worm pit there would be a terrible idea. Your site may vary, but if an area floods regularly, it probably isn’t a good site for a worm pit. In our case, our house is built on a pretty good mound, and I was able to dig this into part of the slope in the back yard.
The Blocks
The blocks that form the edge are just simple 8x8x16 concrete blocks stacked two high, no mortar or anything. It is probably a good idea to level the blocks, as I did, but since we aren’t building anything that needs to be perfect, you could probably get by without doing so.
To give the blocks a little weight and keep them from shifting around, I filled the lower blocks in with the subsoil, and put the topsoil inside the ones up top. During the rainy season I plan on growing something in there, but for now I haven’t really bothered with it. At the moment I’ve got plenty of work to do around the rest of the homestead, so watering those little squares regularly just isn’t happening.
Nothing fancy here
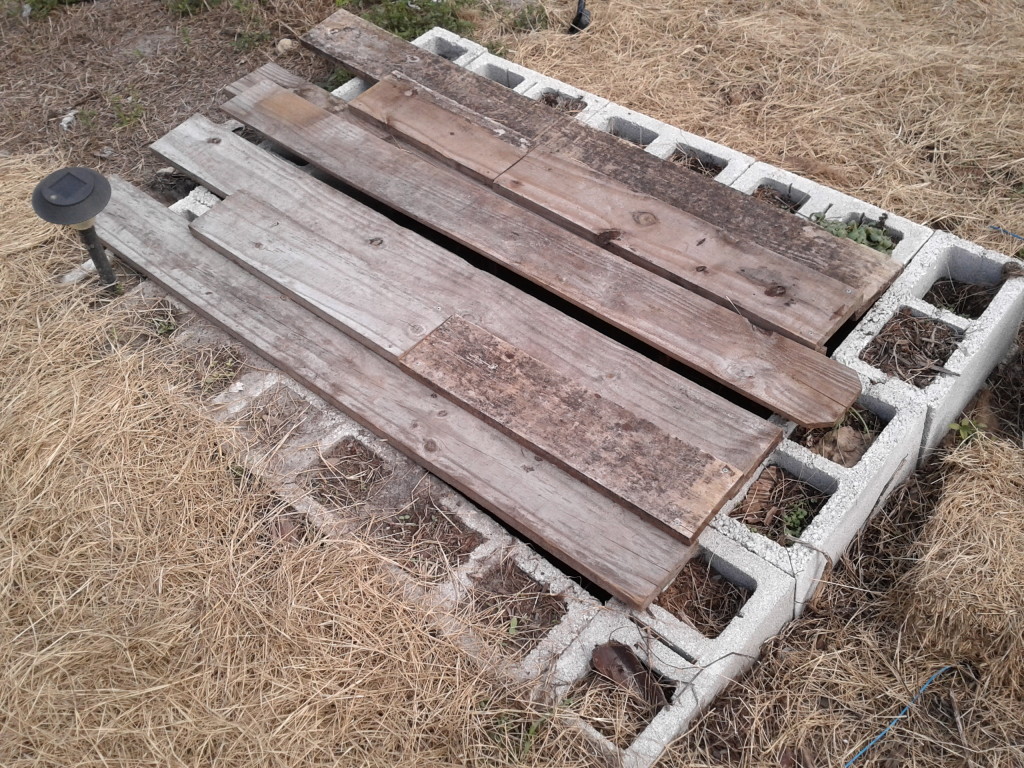
The Cover
The cover on the top is just some old fence lumber I had laying around the garage, though you could of course use just about anything: old doors, a tarp, plywood, an old mattress, you name it. Just keep in mind you’ll need to lift it every now and then, so maybe that old mattress wouldn’t be a great idea. The cover is there for a few reasons:
1) Keeping the elements out. Compost worms like a nice moist environment, and the cover keeps evaporation down. It also keeps rain out, which could leach nutrients from your vermicompost.
2) Keep large pests out. Here I’m mostly talking about cats, dogs, racoons, etc that could get in and drag food scraps all over the place. The small ones, be it mice, frogs, snakes, flies, etc are all going to get in anyway.
3) Kinda block the light so the worms are happier. Worms are negatively phototactic, so if a bright light is shining on their pile, they tend to burrow deeper. A little bit of light getting through isn’t a big deal, but less light is better.
The Bedding
Once it is all together, all that is needed is bedding for the worms, and then of course the worms themselves. Bedding can really be anything that will hold some moisture and take a little while to break down. In composting terms, bedding is generally a brown. With indoor bins, most people do newspaper or cardboard, but you can also use leaves, mulch, palm straw, animal bedding, old shredded shirts, just about anything. In my experience, the worms aren’t too picky. The bedding needs moist but not wet. You kind of get a feel for it, but a good test is to squeeze a bunch of it between your hands. If a drop or two of water comes out, kind of like a wrung out washcloth, you’re good. Over time it will dry out, so a watering can or nearby hose is a good thing.
The Worms
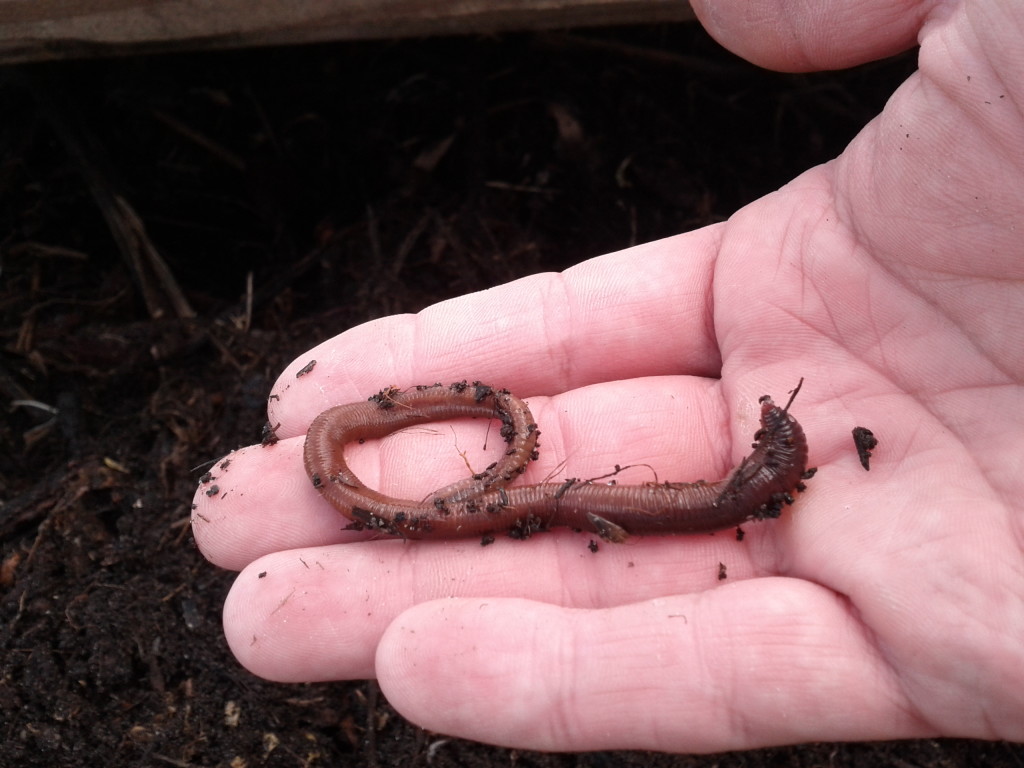
The most common compost worm used today is the red wiggler. They’re about 3-4 inches long, breed quickly, and are great at turning food scraps into compost. When I set up my original plastic bin, I bought a pound of african nightcrawlers, because they’re more tolerant of hotter temperatures, grow larger, produce darker castings, and are more preferred for fishing. When I set up this in-ground pit, I didn’t want to wait for my then decimated population of nightcrawlers to built itself back up, so I got about a half gallon of vermicompost and red wigglers from a friend and added both types of worms in. Now I’ve got booming populations of both!
How It Has Worked For Me
This worm pit has been enough to keep up with the vegetable scraps from our little family of three, as well as a good deal of various yard trimmings. We started off with a fairly small population of worms, and they took a little while to get their population built up. Now, about 3-4 months into it, there are worms all over the place in there. In addition to worms, it has provided habitat for a number of beneficial garden species, including small toads, spiders, earwigs (these have benefits and drawbacks), black soldier flies, and even a little garden snake every now and then.
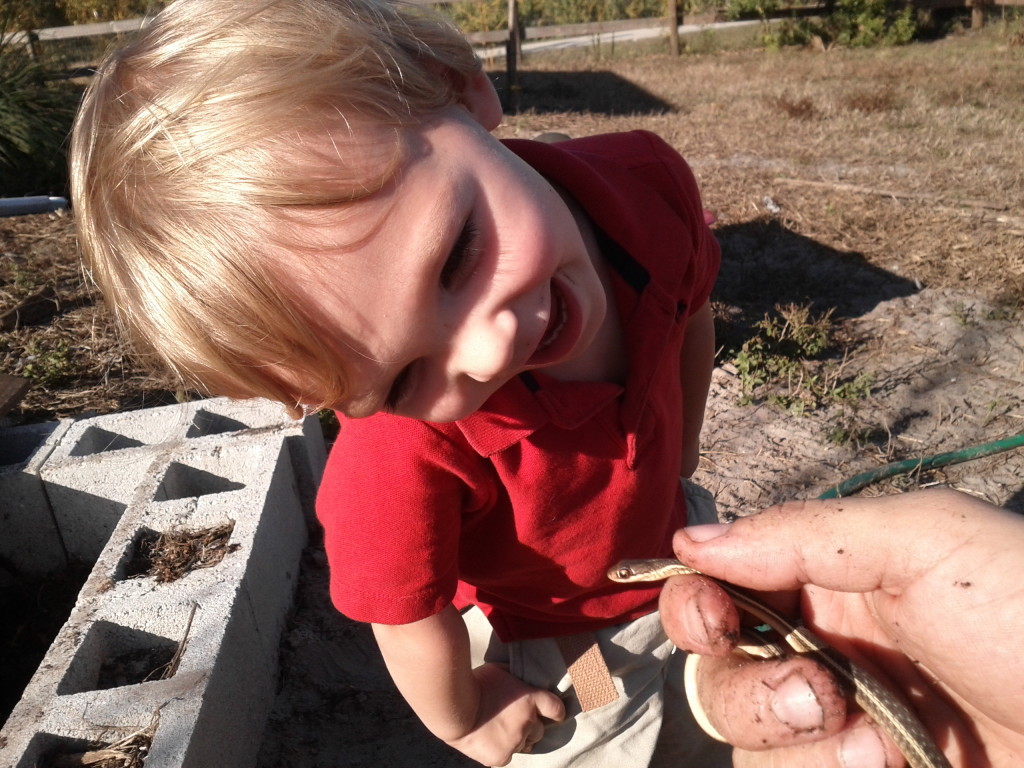
A little garden snake we found hiding with the worms
Houseflies and fruit flies have not been a problem, with the exception of one time when I added 14lb of spent barley from home brewing. The flies were all over it, but adding a cover of an inch or two of mulch seemed to make them lose interest.
The only possible downside I’ve experienced thus far is that if you’re looking for picture perfect finished black worm castings, you’ll have to build a screen of some sort to filter out the bigger stuff. You can also feed them only in one half of the pit for a while, letting that half build up a good concentration of castings, then switch to feeding on the other side. Once the worms run out of food in an area, they don’t stick around long when there’s good food elsewhere. This technique can also help if you don’t want to take worms out of the pit and put them in your garden. Me, I’m not picky. A few pieces here and there that take their time to break down is fine, especially here in Florida where things break down quickly anyways, and I figure worms in the garden can’t hurt.
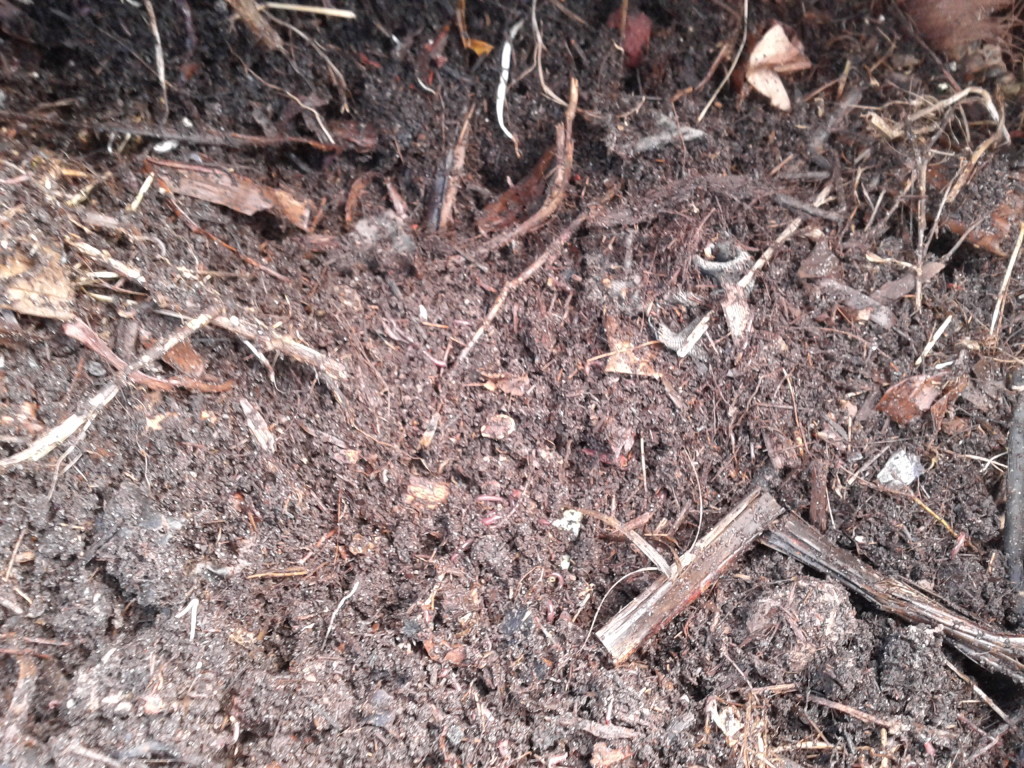
Vermicompost in the works
Recent Comments